Customize the web UI
The OliveTin web UI is reasonably customizable - parts of the page that you don’t need can be hidden when they’re not needed.
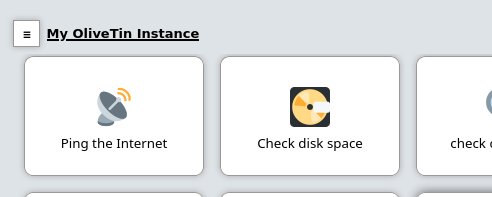
Navigation - show / hide
You can choose to hide the navigation elements in OliveTin, to present a simplified user interface.
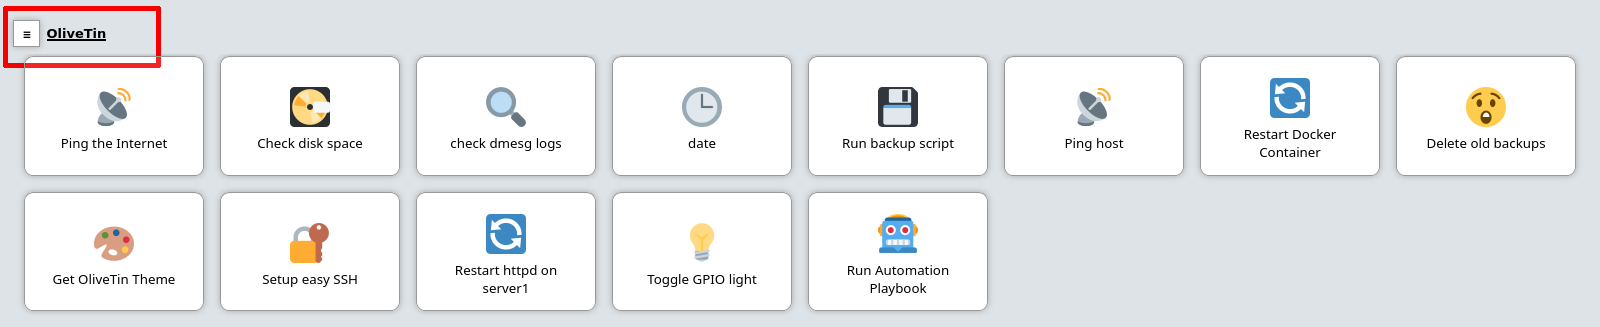
To have OliveTin hide these buttons, add showNavigation: false to your config.yaml;
config.yamllogLevel: "INFO"
showNavigation: false
actions:
....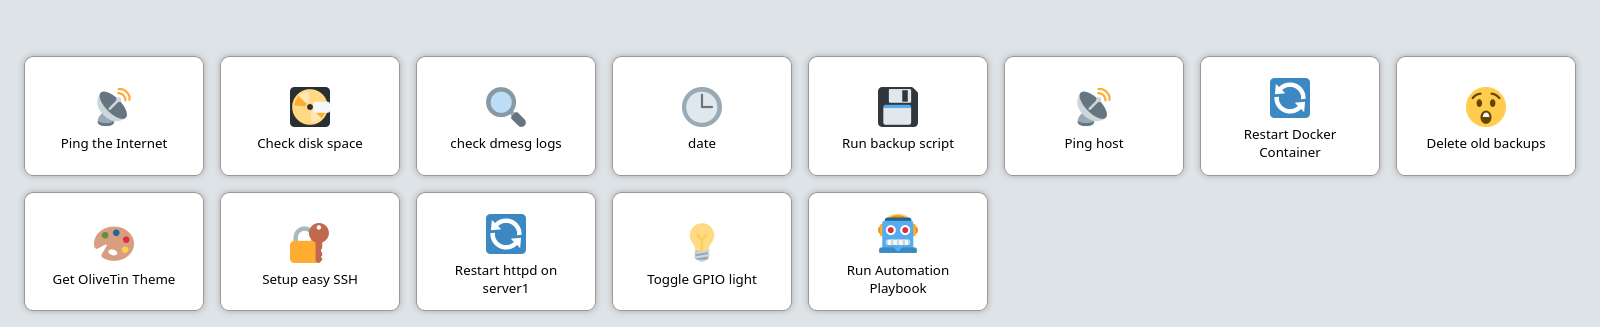
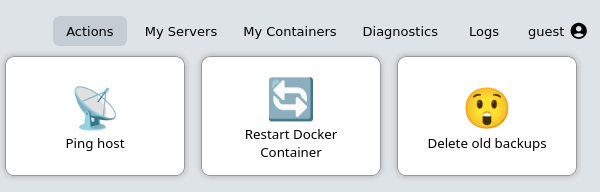
showNavigation: false)Navigate-on-start icons on action buttons
When enabled (the default), each action button can show a small icon indicating what happens when the action is started:
-
Popup dialog — the action opens a popup (e.g.
popupOnStart: execution-dialog) -
Argument form — the action opens an argument form on start
-
Run in background — the action runs without opening a dialog
Set showNavigateOnStartIcons: false in your config.yaml to hide these indicator icons for a cleaner look.
config.yamlshowNavigateOnStartIcons: falseSection Navigation Style
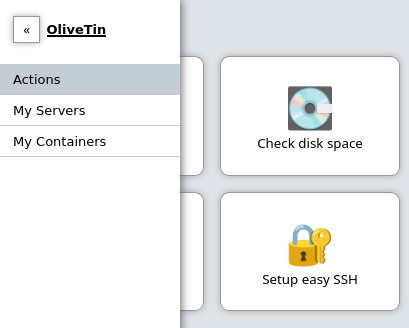
sectionNavigationStyle - You can choose to have the section navigation buttons displayed as a Sidebar (sidebar - default), or along the top (topbar).
Version number in the footer
You can control whether the installed OliveTin version is shown in the web interface. When enabled (the default), the footer displays text like OliveTin 2024.06.02. When disabled, the footer shows only OliveTin with no version number.
This is controlled by the showVersionNumber policy (in defaultPolicy or per user/group in ACLs). Hiding the version also hides any "new version available" link in the footer and redacts the version in server diagnostics output, which can be useful for privacy when sharing reports.
-
Version display — full configuration and policy examples
New version available - show/hide
You can disable the "new version" information in the footer - the default for showNewVersions is true;
config.yamllogLevel: "INFO"
showNewVersions: falseOliveTin does not check for updates by default. To enable it, see enable update checking.
Footer visibility - show / hide
You can disable the entire footer, if you would like a really minimal interface. The default for showFooter is true.
config.yamllogLevel: "INFO"
showFooter: falseThis means the showNewVersions configuration option will automatically be false as well.
Additional section navigation links
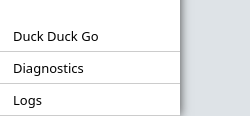
You can add custom links to the OliveTin navigation bar. This is useful if you want to link to other OliveTin instances, or other web applications.
additionalNavigationLinks:
  - title: Duck Duck Go
    url: https://duckduckgo.com
    target: _blank
This will render like this;
Custom JavaScript
This is considered an advanced feature, and is not recommended unless you like writing your own code.
You can add custom JavaScript to OliveTin, which will be executed on every page load. This can be useful for adding custom functionality to the web UI.
-
The custom javascript should be in a file called
custom.jsand saved incustom-webui/, which should be in the same directory as yourconfig.yaml. -
You can put whatever code you like really in your
custom.jsfile. -
Set
enableCustomJs: truein yourconfig.yamlto enable this feature. -
Restart OliveTin. Note that the custom JavaScript will only be loaded once on startup, so if you are changing the custom JavaScript while OliveTin is running, you will need to restart OliveTin to see the changes.
If the browser blocks your script or network calls with Content Security Policy errors, see Content Security Policy headers for how to adjust or disable the CSP sent by OliveTin.
Custom CSS (with a custom theme)
You can customize OliveTin with themes, but it’s also possible to write your on very simple theme that contains just a few CSS rules to change the look and feel of OliveTin. This is very useful if you just want to change the colours of OliveTin, or hide a few elements.
Writing a simple theme with a CSS change
You’ll need to create a new theme, and let’s assume our theme name is going to be called uihack. OliveTin themes are simply a directory of CSS and other assets. OliveTin looks for a directory called custom-webui/themes/<theme-folder-name> in the same directory as your config.yaml file.
Start by creating a directory called custom-webui/themes/uihack relative to the same directory as your config.yaml file. In this directory, create a file called theme.css.
├── config.yaml
└── custom-webui
    └── themes
        └── uihack
            └── theme.css
Here’s an example of what your theme.css should contain;
body {
	background-color: red;
}
Setup OliveTin config to use your theme
Now you need to tell OliveTin to use your new theme. To do this, set themeName: uihack in your OliveTin config.yaml and restart OliveTin.
logLevel: "INFO"
themeName: uihack
OliveTin will by default only read theme.css once on startup. If you are intending to change theme.css while OliveTin is running, set themeCacheDisabled: true in your config.yaml. This will make OliveTin read theme.css on every request, and is useful for development.
|
Restart OliveTin for the theme change to take effect. Beware of the theme cache mentioned above, if you are making changes to the CCS and refreshing the page a few times.