OAuth2 - Authentik
OliveTin has been tested with Authentik. This documentation page describes how to configure Authentik for use with OliveTin and assumes you already have Authentik installed and running.
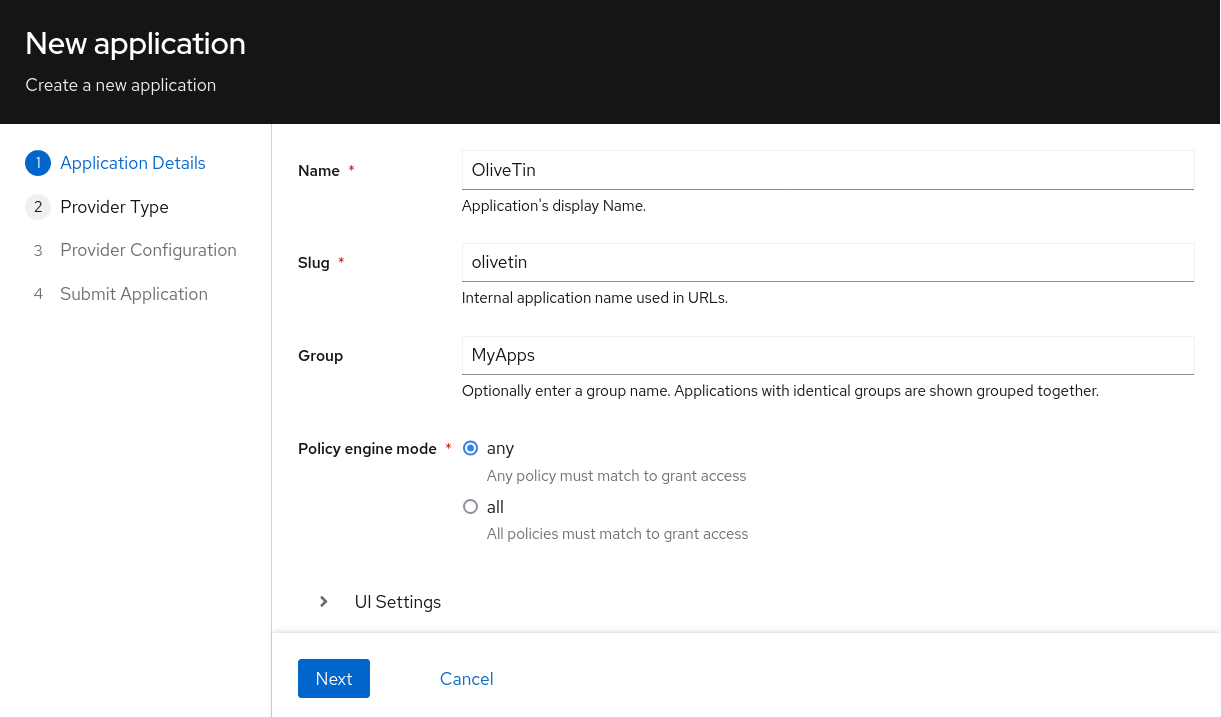
Login as an Authentik administrator and start by creating a new app as follows;

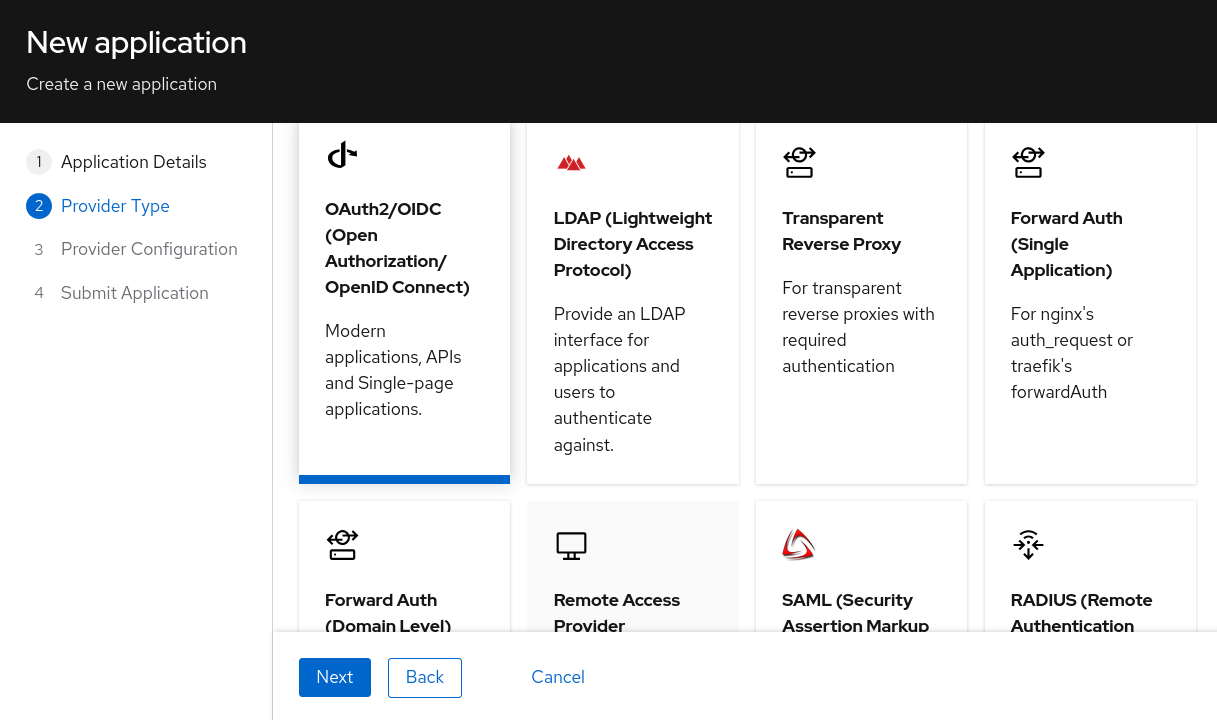
Click Next, and on the Provider Type page select OAuth2.

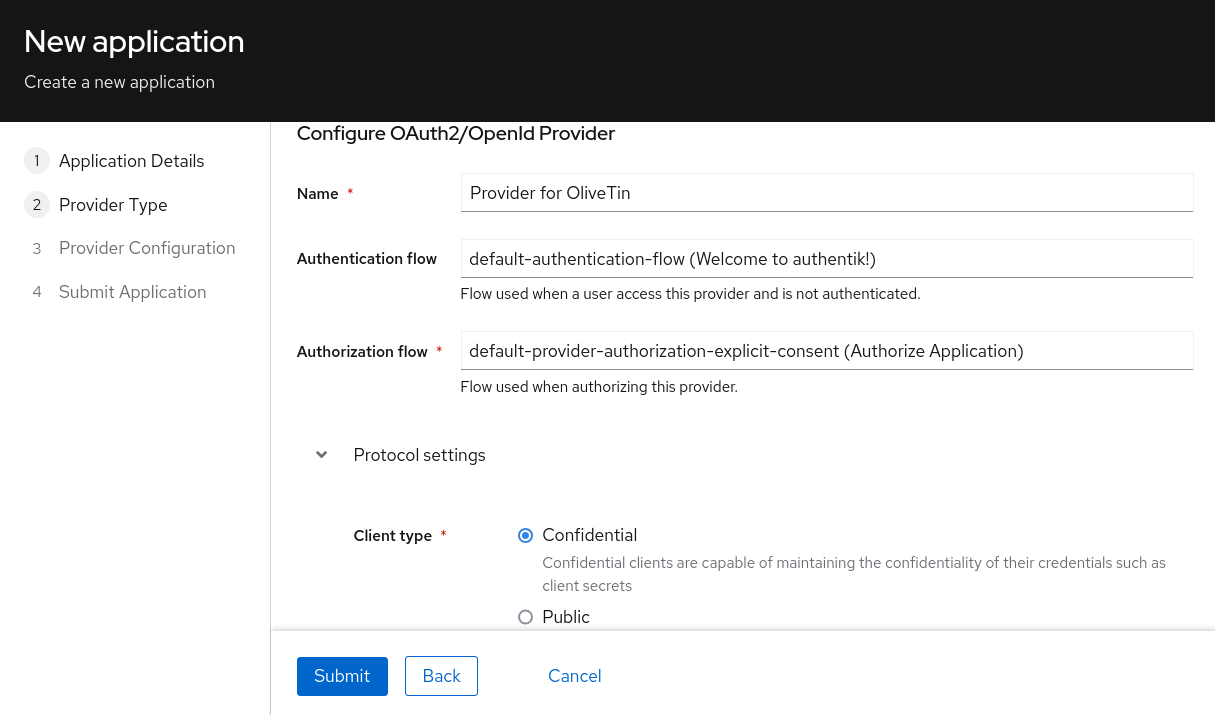
Click Next, and on the Provider Configuration page, fill in the following fields;

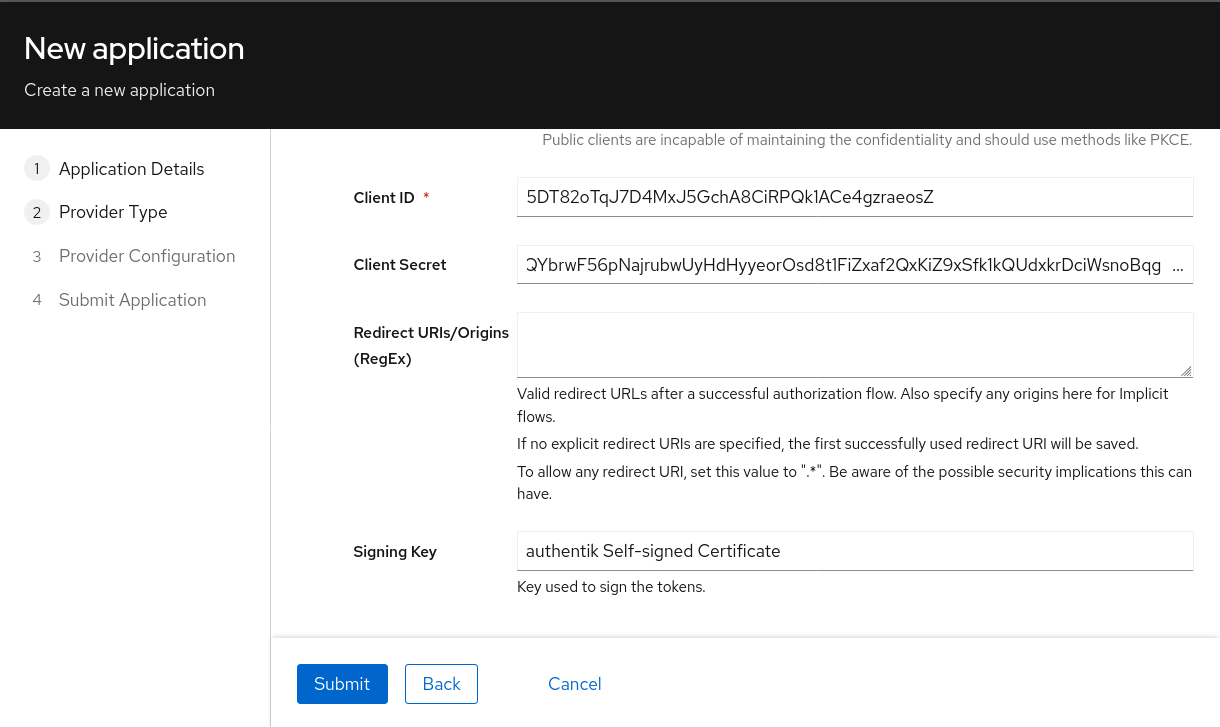
Scroll down, and on the same page, copy the Client ID and Client Secret fields. You will need these to configure OliveTin.

Submit this wizard to save the configuration.
Group Mapping
As of OliveTin 2024.11.24, one group can be processed from OAuth at login. To map a user’s groups to OliveTin from Authentik, there are a few options. Examples of two will be shown below.
First Prefix Match
The below will match the first group the user is a member of that matches the prefix defined in group_prefix, which is set to olivetin. If no match is found, the group guest is returned by default. Both group_prefix and returned_group can be changed to your needs.
In Authentik: Admin Interface > Customization > Property Mappings > Create > Scope Mapping
-
Name:
olivetin-group-mapping -
Scope Name:
olivetin-group-mapping -
Description:
map first group that starts with "olivetin" -
Expression:
group_prefix = "olivetin"
returned_group = "guest"

groups = [group.name for group in user.ak_groups.all()]

for group in groups:
    if group.startswith(group_prefix):
        returned_group = group
        break

return {
    "olivetin_group": returned_group
}
Specific Group Match
The below will match the specified group name to one of the groups the user is a member of. If no match is found, the group guest is returned by default. Both olivetin_group and returned_group can be changed to your needs.
In Authentik: Admin Interface > Customization > Property Mappings > Create > Scope Mapping
-
Name:
olivetin-group-mapping-specific -
Scope Name:
olivetin-group-mapping-specific -
Description:
search and map specified group for olivetin -
Expression:
olivetin_group = "olivetin-users"
returned_group = "guest"

groups = [group.name for group in user.ak_groups.all()]

if olivetin_group in groups:
    returned_group = olivetin_group

return {
    "olivetin_group_specific": returned_group
}
Enable Group Mapping
After creating the scope mapping in Authentik, you will need to add it to your provider. For the your OliveTin config, use the userGroupField mentioned in the following section.
In Authentik: Admin Interface > Applications > Providers > {Your Provider} > Edit
-
Open
Advanced protocol settings -
Under
Scopes, add{your_scope_map}toSelected Scopes -
Click
Update
OliveTin configuration
The necessary OliveTin configuration is as follows:
authRequireGuestsToLogin: true # Optional - depends if you want to "disable" guests.

authOAuth2RedirectURL: "http://localhost:1337/oauth/callback"
authOAuth2Providers:
  authentik:
    name: authentik
    title: Authentik
    clientID: "1234567890"
    clientSecret: "123456789012345"
    authURL: "http://localhost:9000/application/o/authorize/"
    tokenURL: "http://localhost:9000/application/o/token/"
    whoamiURL: "http://localhost:9000/application/o/userinfo/"
    usernameField: "preferred_username"
    icon: <iconify-icon icon="simple-icons:authentik"></iconify-icon>
Optional configuration values to consider are:
authOAuth2Providers:
  authentik:
    userGroupField: "your_mapped_group_name"
    certBundlePath: "/path/to/mounted/certificate.pem"
    insecureSkipVerify: true
    connectTimeout: 15
You will need to restart OliveTin for the changes to take effect.
Testing
You should now be able to login to OliveTin using Authentik, on the OliveTin page, a "Login" link should be available in the top right corner. This will take you to the login form, where you can select the Authentik provider.
Debugging
OliveTin logs OAuth2 flows quite extensively. If you are having trouble with OAuth2, you should check your OliveTin logs.
Next steps
Once you have OAuth2 working, you will probably want to configure access control lists in OliveTin. This is described in the Access Control Lists documentation page.